
Destiny 2 Equilibrium Dungeon Guide: Every Encounter
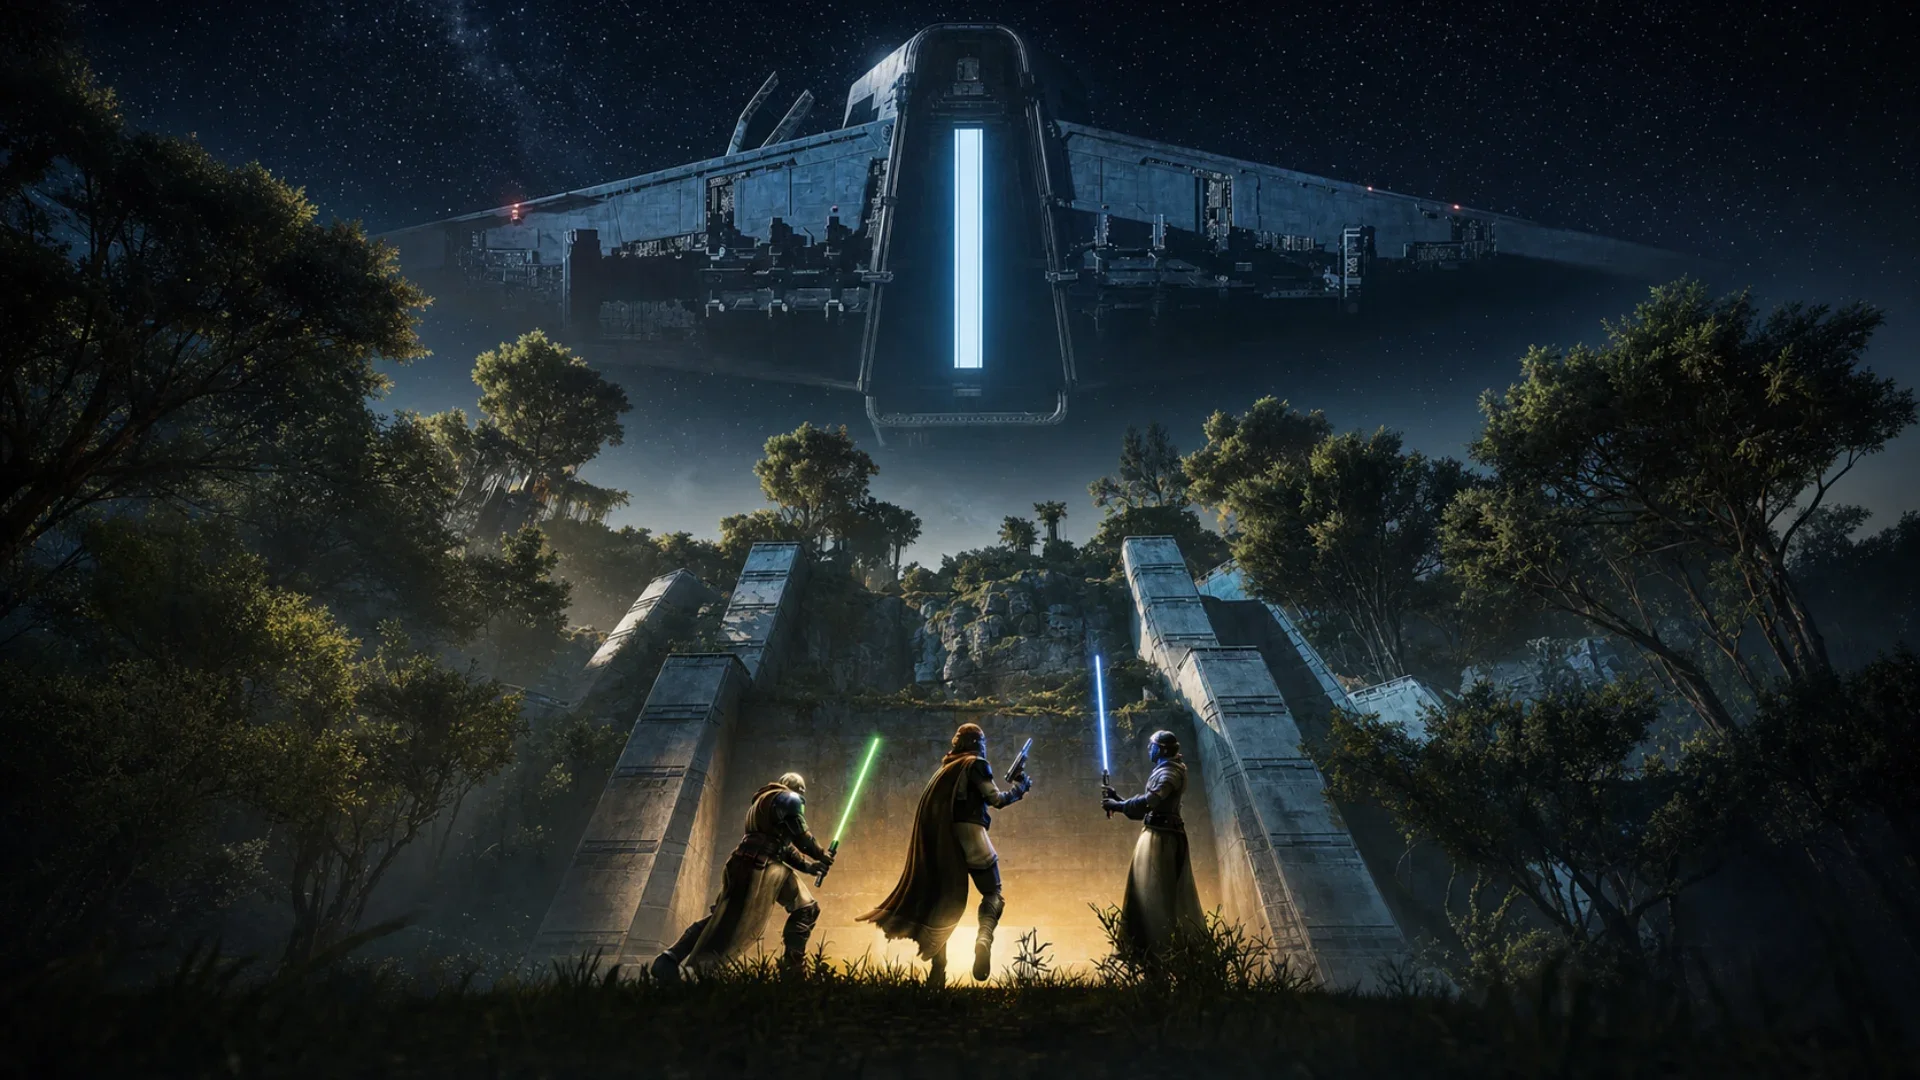
Most fireteams do not lose Equilibrium to damage checks. They lose it because someone let a Shadow buff run dry at the wrong moment, or killed something they were supposed to Compel. The Destiny 2 Equilibrium dungeon punishes sloppy resource management harder than it punishes bad aim, and one wrong instinct can cost you the whole attempt. Here is how all three encounters actually work.
Equilibrium at a glance
Released: December 13, 2025, with Renegades
Dungeon number: 11th dungeon added to Destiny 2
Location: Venus, then two Imperium ships
Fireteam size: 1 to 3 players
Enemies: Cabal (Barant Imperium) and Taken
Encounters: Harvester, Harrow, Dredgen Sere
Bosses: Harrow, Dredgen-Apprentice and Dredgen Sere
Exotic: Heirloom, a Solar combat bow
Armor set: Sage Protector Suit
Requirement: Renegades expansion
Destinypedia lists the recommended Power for Equilibrium at 100, though mechanics rather than Power are what stop most fireteams.
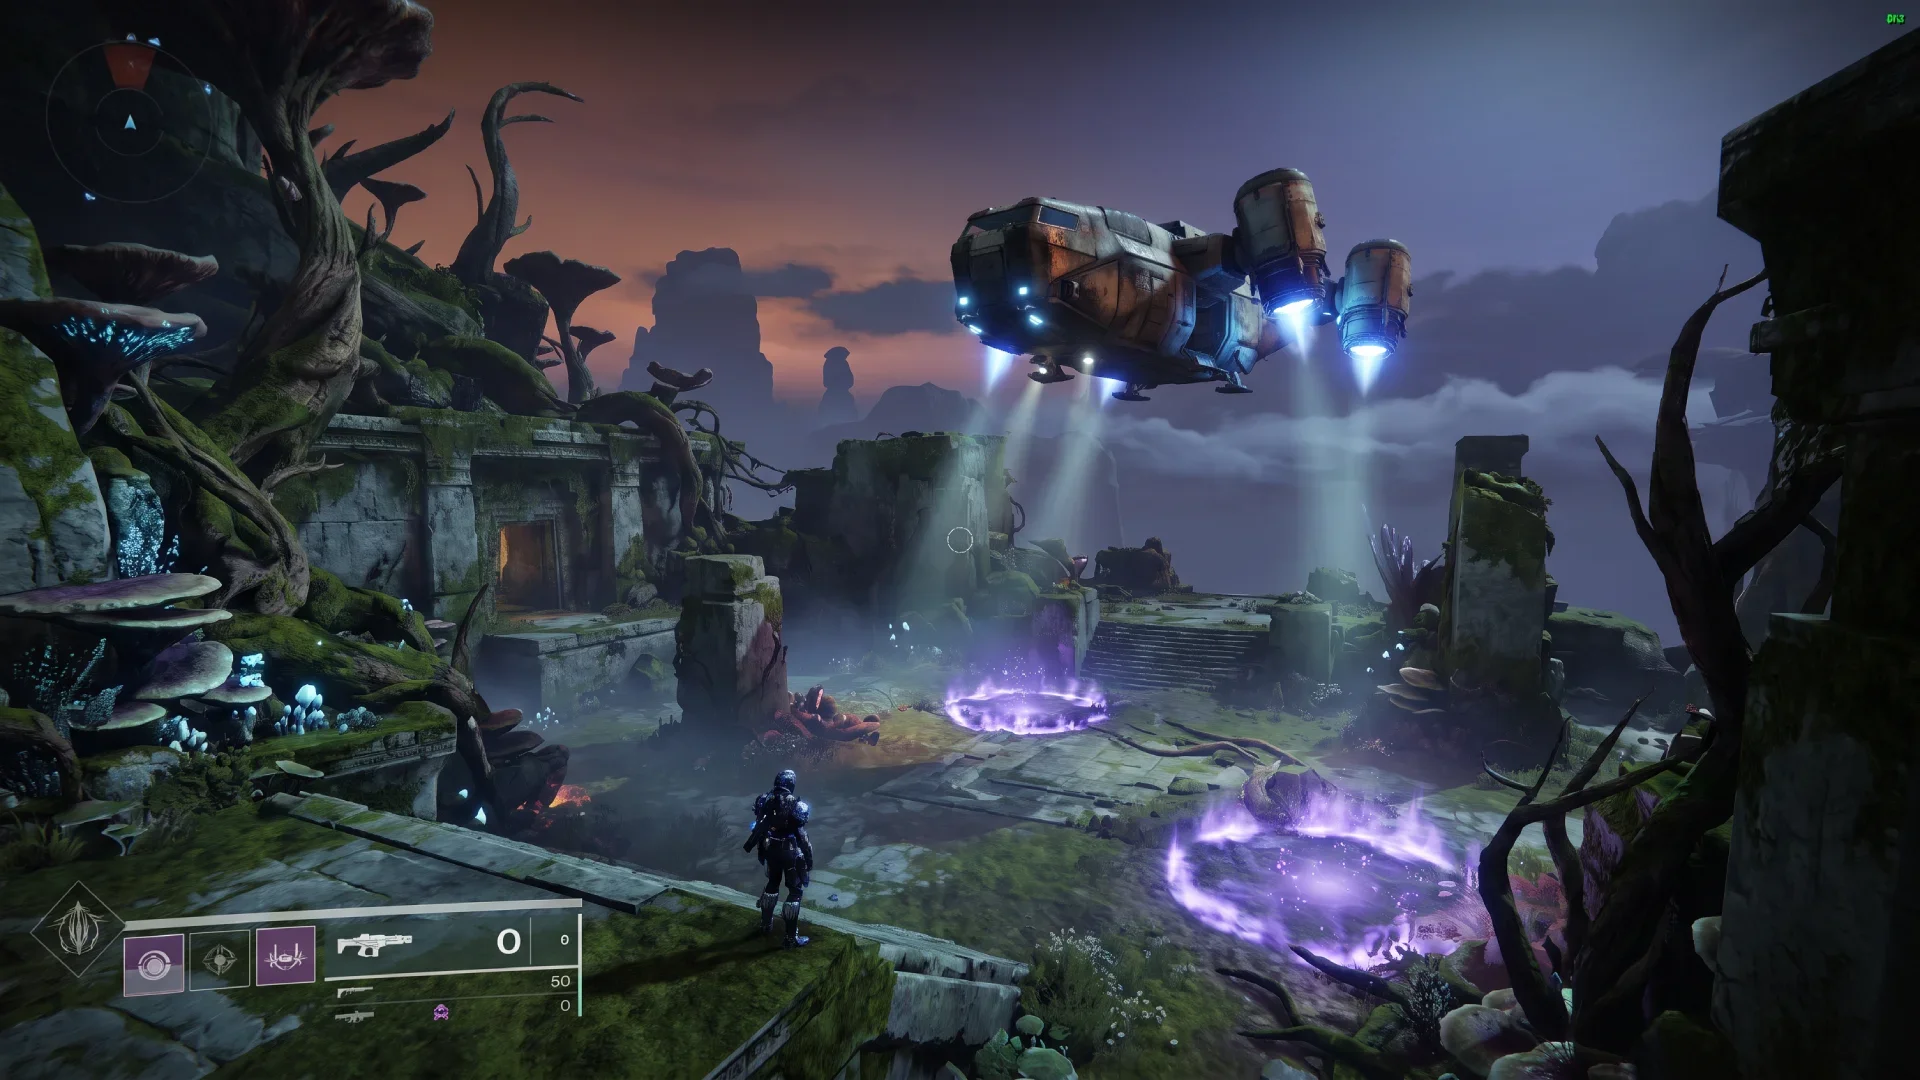
Equilibrium dungeon entrance on Venus
How to unlock and start Equilibrium
You need the Renegades expansion on your account. There is no separate dungeon key involved.
From there, open the Portal and find Equilibrium under the Lawless Frontier section. It also surfaces through the Seasonal Hub under Vanguard Alerts. Since Monument of Triumph retired the old Legends node, dungeons launch from the Raids and Dungeons node on the Director as well. Every route lands you in the same place on Venus.
There is one more gate that catches fireteams on their first run. Equilibrium is tied to a pursuit called The Way Between, picked up from Aunor Mahal at the Tharsis Outpost Cantina after you reach Step 5 of the main Renegades pursuit. Step 2 of The Way Between is the dungeon itself, and your fireteam leader has to be at least that far along or the activity will not launch for the group. Swap leader to whoever qualifies and the problem solves itself. The remaining seven steps are a post-dungeon chase, covered further down.
The Shadow Rank system explained
Every encounter in Equilibrium runs on the same resource. You fill a meter called Gathering Shadow by moving through pools of Darkness energy, and when it fills, you gain a timed Shadow rank.
That rank does two things. It replaces your grenade with a Shadow Power ability that fires a Taken pulse, and it gates every interaction that actually progresses an encounter. You can toggle between your normal grenade and Shadow Power the same way you swap Renegades abilities out in the Lawless Frontier.
The ranks escalate across the dungeon. The first encounter only asks for the opening tier, which most guides call Shadow Novice, though the labeling is not consistent across sources and Destinypedia calls it Shadow Apprentice at that stage. Harrow's fight needs Shadow Apprentice and Dredgen Sere demands Shadow Master. The buff runs on a 45 second timer at the first tier, so the real skill is not gathering shadow, it is planning what you will spend it on before the clock starts.
Three habits separate clean runs from messy ones:
Refresh before you commit. Rolling over a fresh pool resets the timer, so top up on the way to a mechanic rather than mid-execution.
Stagger your fireteam. If all three players buff at once, all three expire at once and the encounter stalls.
Treat Shadow rank as a shared pool. Enemy deaths seed new pools, so the person clearing adds is feeding the person doing mechanics.
Encounter 1: Harvester
Start by walking the arena before anyone touches anything. There are three Array Satellites, two sitting in front of an entrance sealed by red hardlight and one near the Praxic Temple entrance. The rally banner is at the temple entrance, not where you spawned in. Interact with the Harvester ship in the middle to begin.
Your job is to kill six Nameless Apprentices and the Behemoths that follow them. The Apprentices arrive by drop pod in waves of three, and they carry shields you cannot shoot off.
The opening loop works like this. Lure a Nameless Apprentice next to an Array Satellite and wait for it to begin charging Hate of the Nameless, its wide AOE detonation. Interact with the satellite during that charge to expose its internals so the blast destroys it. Timing matters, because the exposed window is short. A destroyed satellite drops the hardlight blockade next to it.
Behind that blockade is an outer circuit and a set of Pikes. Ride the circuit and pass through the pools of Taken energy scattered along it. This clears the Creeping Shadows stacking debuff, which kills you outright if you sit outside the circuit too long, and it fills your Gathering Shadow meter. There are nine pools total, in groups of three, and the meter fills at seven.
Now the mechanic inverts. With a Shadow rank active, you no longer bait Apprentices into satellites. You interrupt their charge with the Shadow Power ability, which strips the shield and makes them killable. Each dead Apprentice spawns a Behemoth Fortis trio and a fresh Taken pool you can move over to refresh your buff, on foot or on a Pike.
The encounter ends with three Behemoth Gloriosus. Clear those plus any leftover Fortises and the chest spawns.
If you are running the Encounter Challenges feat, this encounter's challenge asks you to kill the Nameless Apprentices using only Pike blaster fire.
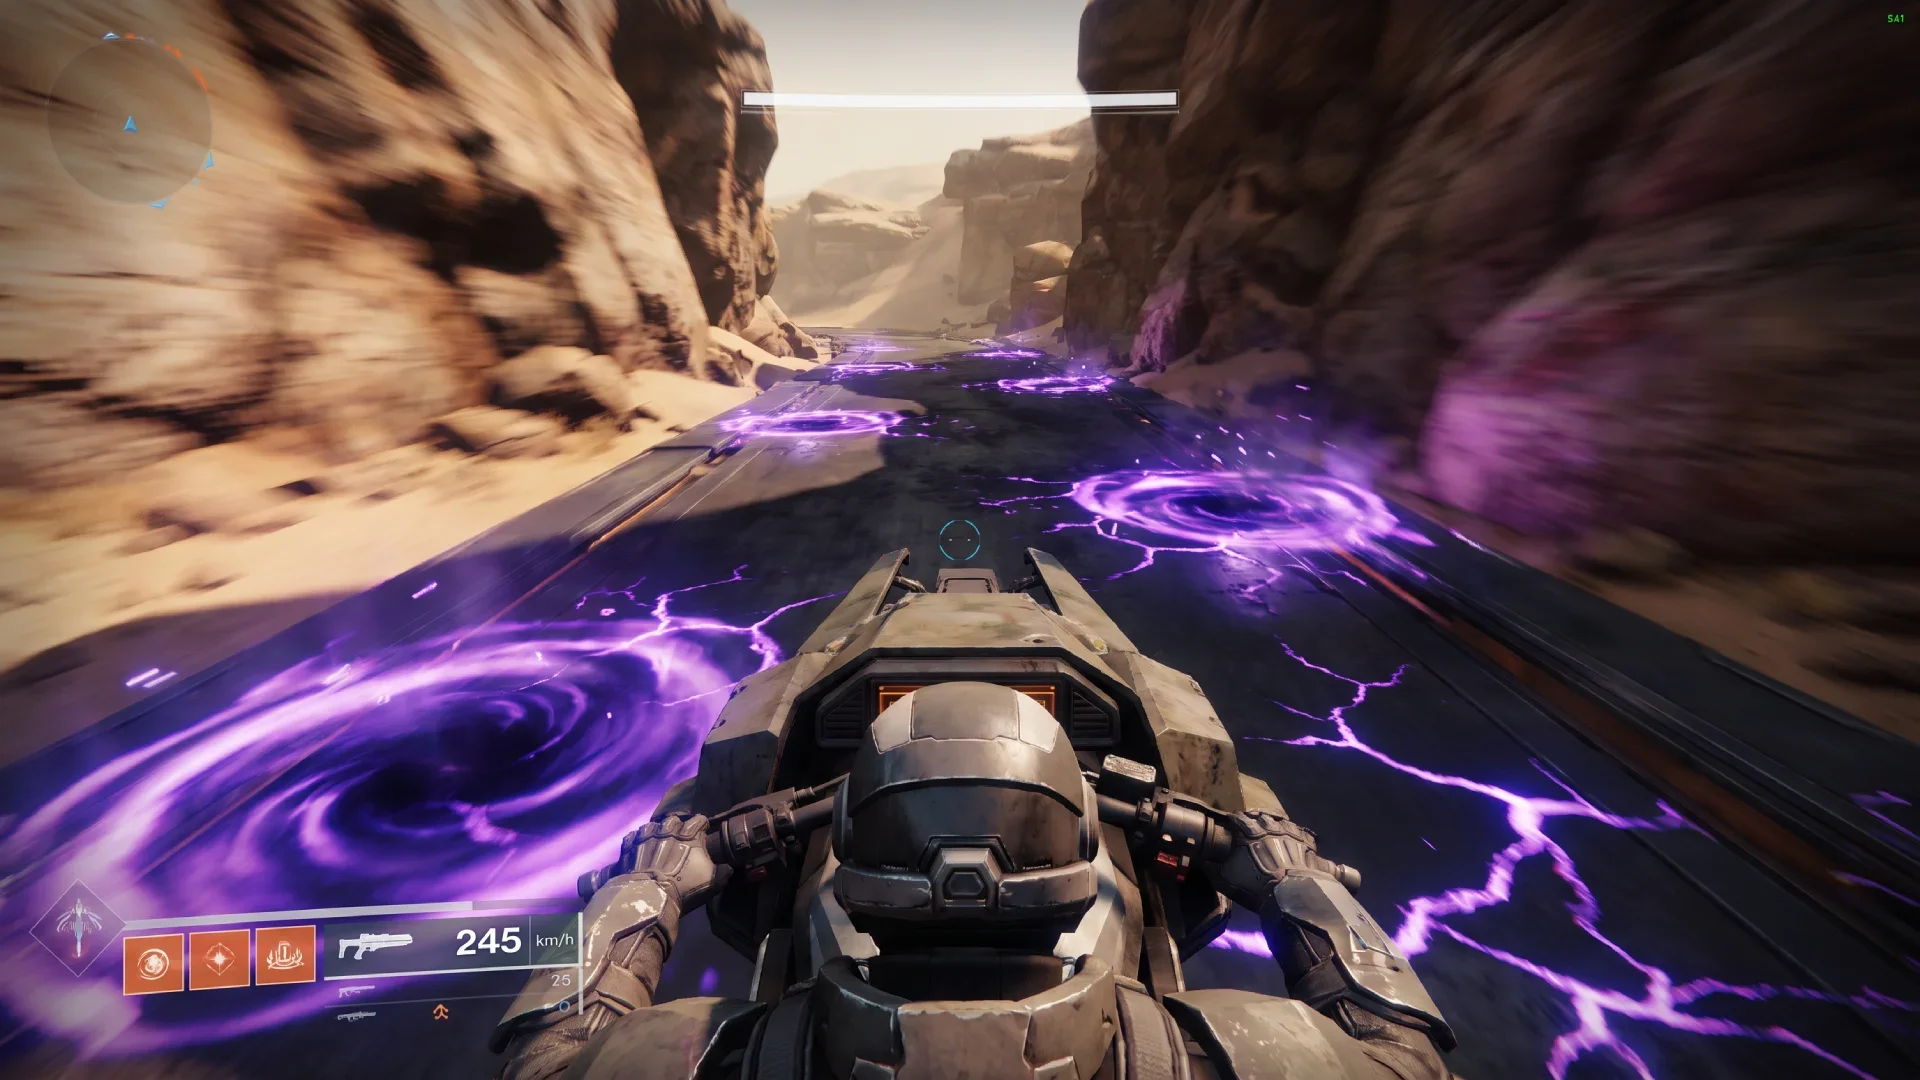
Harvester encounter Pike circuit
Traversal: through the Imperium Carrier
Board the Harvester and it lifts you to the Imperium Carrier. Look straight up on arrival, jump the platforms, and shoot the vent to get inside.
Follow the linear path to a locked door and shoot the three blue batteries near it and opposite it. The ship then fires its NLS drive, which shoves you sideways in mid air. Line up on the far left platform before you jump so the drift carries you onto the landing rather than past it.
From there, head left and destroy the blue fuse inside the room, then the next fuse to open the door ahead. There is a secret chest in the middle room: jump the central platforms and crouch into the crawl space. The vent on the right in the following room drops you into the second encounter.
Encounter 2: Harrow, Dredgen-Apprentice
Rally, then turn away from the window and shoot the fuse to drop the hatch into the arena. Harrow rushes you with dual Praxic Blades and an immune shield, so do not try to trade with him yet.
Wait for Cabal reinforcements to breach one of the doors and slip out into the U-shaped hallway behind it. Those doors only stay open while someone is on the hallway side, so move as a group or post someone.
Build Shadow rank here from Lackeys rather than pools. Psion Lackeys spawn at alternating ends of the hallway, and each of the three outer rooms holds a Centurion Lackey. Killing them seeds the Taken pools you need. You reach Shadow Apprentice faster in this encounter than in the first, so the constraint is positioning rather than volume.
With Shadow Apprentice active, enter each of the three outer rooms and hit three Taken-imbued switches in quick succession. Three green lights above the door confirm a room is finished. When all nine are done, the screen reads "Emergency subsystems active" and you can return to the main room.
Watch for the Harrow's Decree callout the whole time. It means Harrow has followed you into your room and is charging Spite of the Named, a bigger version of the Nameless Apprentice detonation. Interrupt it with Shadow Power or leave his range. There is no third option.
Breaking his shield is about making Harrow hurt himself:
Pitfalls. Shoot the blue fuse above a hatch and bait Harrow over it.
Arc coils. Switch on the generators in a corner with Shadow Power, then let Harrow slash into them.
Direct disruption. Between successful baits, Shadow Power hits chip the shield further.
Once the shield falls, damage him. Shotguns, fusions, and swords all perform here because he stays in your face, which is also why the phase feels short. You can extend it by landing another bait mid-phase at the cost of a few seconds of DPS.
At Final Stand he blows a door and runs. Chase him, kill the Scorpius turrets on the way, and finish him before he re-shields. If he does re-shield, the same fuses, hatches, and Centurion Lackeys exist in his final room.
The Encounter Challenges version of this fight asks you to disrupt every single Spite of the Named charge.
Traversal: boarding the Malphas Contemptus
Grab Shadow Apprentice, shoot the two wall panels, then pull the lever in the center of the room. A bay door opens, the carrier drops out of lightspeed, and you jump across to the Malphas Contemptus.
Follow the path left, flip the two switches under the red lights, and vent your way through to the shipping hangar. Clear the Cabal and the Behemoth there, then use the console to start the moving platforms. The route forward is the center hatch above you.
Past the tank, drop below its raised platform. There are four vents and only one is the real path. The rest are dead ends, so send one person to scout rather than splitting the fireteam.
The last room before Sere needs Gathering Shadow again. Climb the platforms, hit the Taken panel with Shadow Power, and the hatch in the red pipe opens.
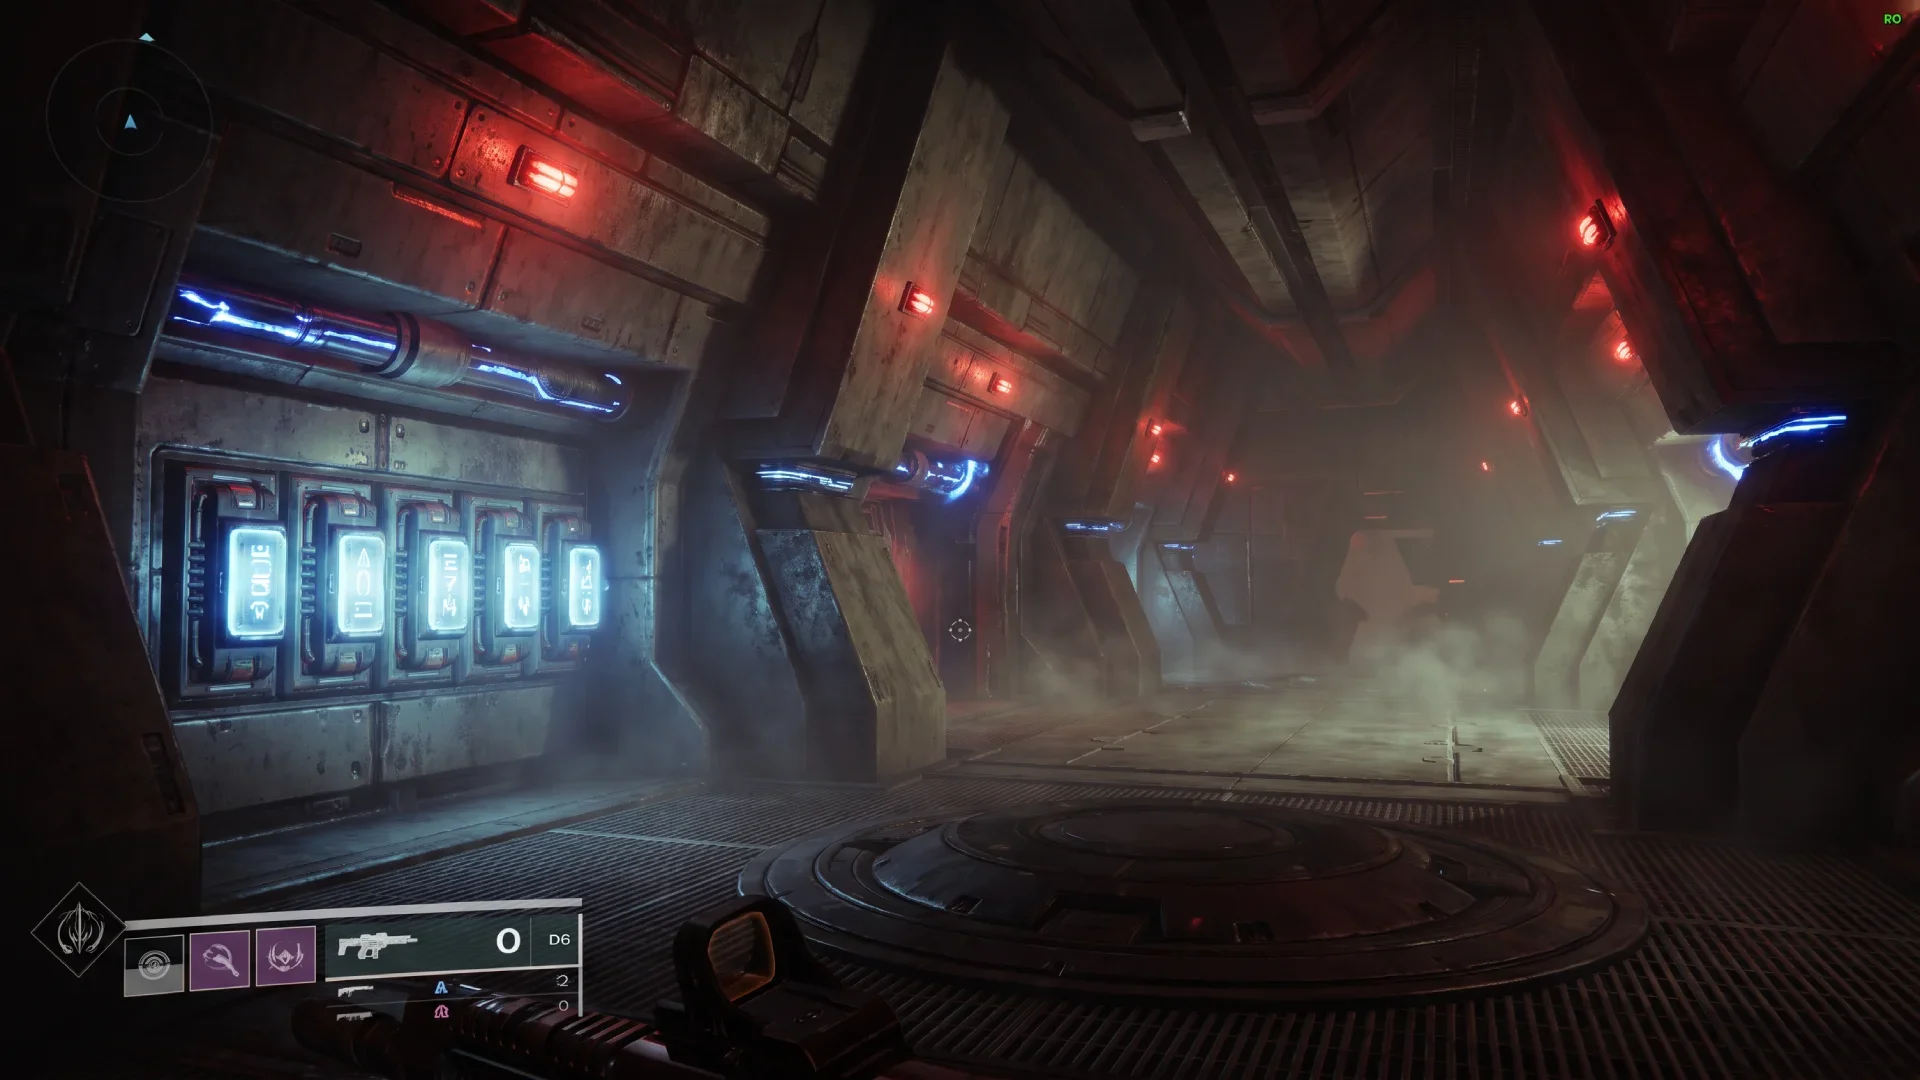
Imperium Carrier interior
Encounter 3: Dredgen Sere
Approach Sere to start the fight, but open from range. His opening attack hits hard enough to delete a Guardian who walked up to say hello.
Throughout the encounter he marks a player with the pink "Face your death!" callout and channels lightning from his hands. It does not stop on its own. Shoot his hands to stun him and the channel breaks. Every fireteam should know this before the first attempt, because running from it does not solve it.
The main loop starts in the normal arena. Kill Centurions to build Gathering Shadow until you reach Shadow Master, then use Shadow Power to strip the immunity from the Nameless Apprentices. There are five. Each death frees one Taken orb on the central slab, and destroying those orbs buys you time against the Lure of the Dark timer, which yanks the fireteam into the Ascendant Realm.
This is where most runs die. In the Ascendant Realm you will find five Blistered Shadows. You Compel them by interacting while Shadow Master is active. You do not kill them. Accounts of the penalty vary, describing either a higher damage requirement in the following DPS phase or lightning coils activating across the arena, which then have to be shut off by hitting panels with Shadow Power. Either way the penalty is real, and the instinct to shoot everything is the wrong one here.
The fifth Blistered Shadow sits above the central structure. The Taken platforms that reach it only spawn after you hit a battery panel inside a Taken bubble with Shadow Power.
Each Compel lets you destroy a blight on the center pillar, which extends your time in the realm. Clear all of them and you return to the normal arena.
Once the orbs are gone in both realms, damage opens. Sere summons lightning from the pylons around the arena during the phase, and those are shut down the same way, with Shadow Power on the surrounding panels. Repeat the full cycle until he falls, then claim the final chest.
Full loot table by encounter
Harvester: Arms, Chest, and Legs armor. Weapons are Voltaic Shade, Zealous Ideal, and Bitter End.
Harrow: Helmet, Arms, and Class Item armor. Weapons are Voltaic Shade, Conspiracy Honed, and Bitter End.
Dredgen Sere: Chest, Legs, and Class Item armor. Any Equilibrium weapon can drop here, plus Heirloom.
The six Legendaries break down like this:
Zealous Ideal: Auto Rifle, Solar, Energy slot
Voltaic Shade: Scout Rifle, Arc, Energy slot
High Tyrant: Pulse Rifle, Void, Energy slot
Conspiracy Honed: Sniper Rifle, Stasis, Kinetic slot
Bitter End: Machine Gun, Arc, Power slot
Sullen Claw: Sword, Void, Power slot
All six carry the Imperial Allegiance origin trait, which increases cooling or charge rate while you are near allies and adds damage at high heat or low guard energy. Those are Renegades-era weapon states, so the trait rewards staying grouped rather than splitting the arena. Worth noting: High Tyrant and Sullen Claw only drop from the Sere encounter, so there is no shortcut checkpoint for either.
The armor set is the Sage Protector Suit, and its bonuses are built entirely around swords. Two pieces give you Combat Meditation, which returns grenade and class energy on sword hits. Four pieces give you Blade Focus, where a brief guard readies a buff that increases sword damage and lunge distance on your next hits. Pair that with Sullen Claw and the set stops being a cosmetic choice.
One quirk that helps when farming: attuned gear is shared across characters and can drop from encounters that would not normally reward it.
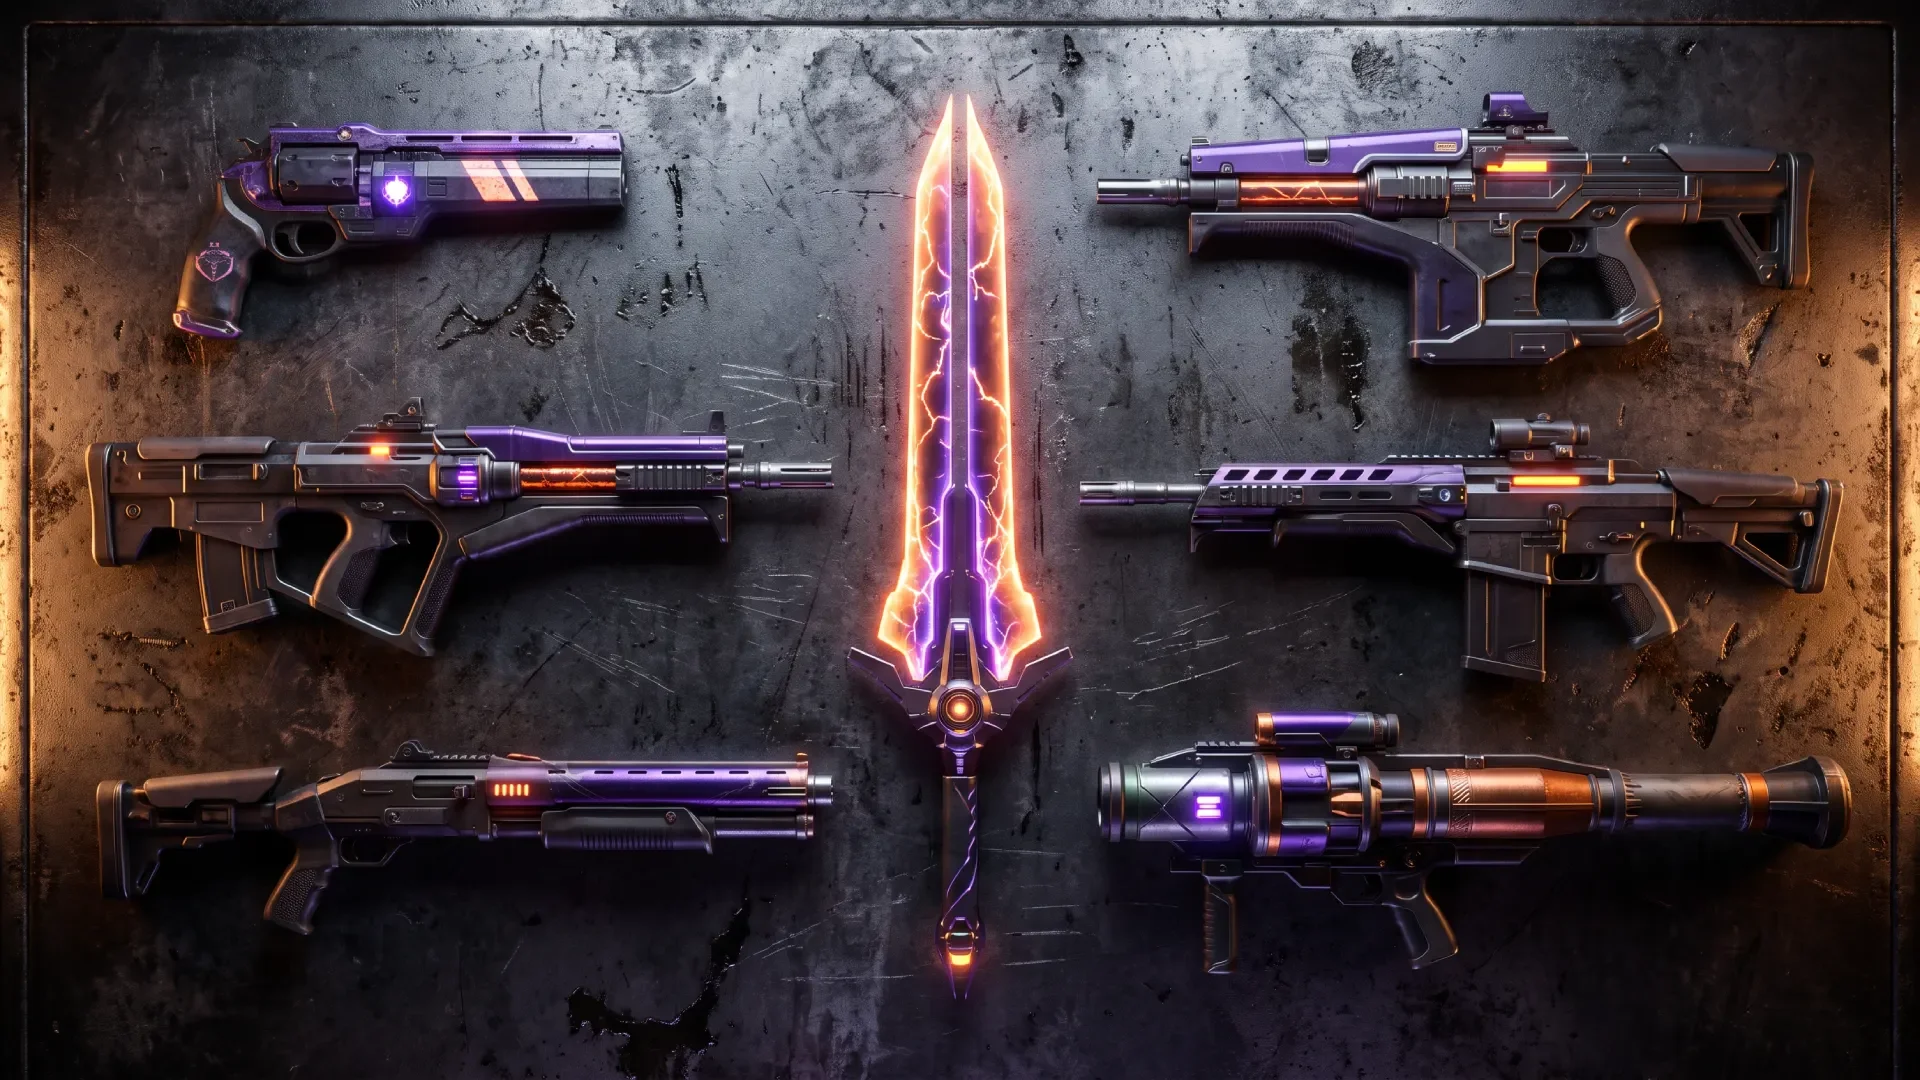
Equilibrium weapon and armor loot
Heirloom: drop rules, Triumphs, and the catalyst
Heirloom is a Solar Exotic combat bow in the Energy slot that uses Special ammo. Its intrinsic, Bolt Thrower, fires explosive bolts and staggers Unstoppable Champions. Its Exotic perk, Bullwhacker, overcharges your next bolt the longer you hold down sights, scaling damage and blast radius with each charge level.
Note that light.gg currently lists that perk as Bullwhacker, while several guides published at launch still use an earlier name for it. The behaviour is the same either way.
The drop rules matter more than the perks for most players:
Heirloom drops from the final encounter only.
Outside Contest Mode, that drop has been limited to one chance per character per week since launch. Three characters, three rolls.
Legendary weapons and armor have no lockout at all and can be farmed as many times as you want.
Your drop chance is not fixed. A long list of Praxic Triumphs each permanently increase the initial chance for Heirloom to drop, and they stack. That includes Never De-Feated, Finish Line, Challenger Approaching, Blade Against Blade, Lifetime Limit, Imperial Hordes, Listen In, Perfect Record, Me and My Shadow, and To Walk Alone.
Most of these attach to feats you would otherwise skip. Turning on the Phase Race or Encounter Challenges feat on a clear you were already doing is free drop rate. Two of them also grant an extra feat slot, which makes stacking the rest easier. Chasing the feat-based Triumphs first is the efficient order, because the solo and flawless ones take real practice.
The catalyst is a separate chase. It comes from the later steps of The Way Between, the same nine-step questline that gated your first entry, which has you recover stolen Praxic relics across multiple runs and defeat a secret boss, the Shade of Sere. Finishing it unlocks the Heirloom Catalyst, the loot focusing (attunement) system for Equilibrium drops, and the Energy Conduit trait for the Praxic Blade. The catalyst itself adds Scorch application to direct hits from charged bolts, which slots the bow into Solar builds rather than leaving it as a niche Champion answer.
What to farm, and where
Pick a target, then farm the right checkpoint instead of running full clears:
Sullen Claw or High Tyrant: Dredgen Sere only
Conspiracy Honed: Harrow
Zealous Ideal: Harvester or Sere
Voltaic Shade or Bitter End: Harvester, the faster of the two checkpoints, or Harrow
Helmet or Class Item: Harrow
Heirloom: Sere, once per character per week
The checkpoint method needs a partner, because you cannot hold an instance open for yourself. Run to the encounter you want on your first character and wipe deliberately without completing it. Ask your fireteam to stay put, swap to a second character that has not cleared the dungeon that week, and rejoin them. Wipe again, and that second character now holds the checkpoint. Launch from that character, swap back to your main, rejoin, and clear the encounter on repeat.
Why fireteams wipe, encounter by encounter
Harvester: Creeping Shadows kills someone stranded outside the circuit. The fix is that nobody leaves the Pike course until the pools are cleared.
Harvester: The buff expires before an Apprentice charges. Refresh on a pool immediately before baiting, not after.
Harrow: An unblocked Spite of the Named wipes the room. One player is always assigned to disrupt, never all three.
Harrow: The Final Stand chase runs out of shield time. Kill Scorpius turrets on the way, not after arriving.
Sere: Blistered Shadows get shot instead of Compelled. Call out "Compel" before entering the Ascendant Realm.
Sere: Lure of the Dark triggers with a rank expired. Reach Shadow Master before the timer, not during the swap.
That fifth item is the one worth repeating in voice chat. The direction of that mechanic is counterintuitive and it is where new fireteams reliably lose their first several attempts.
Solo and duo viability
Equilibrium is completable solo, and solo flawless is a recognized achievement with its own emblem and shader attached. It is not a friendly solo dungeon.
The Harvester encounter scales reasonably, since one player can bait, ride, and interrupt in sequence with only a time cost. Harrow is where solo runs get punishing, because nine switches across three rooms have to happen inside a buff timer while he actively hunts you. Sere is the hardest of the three solo, since the Ascendant Realm section expects you to reach five Blistered Shadows against a shared timer.
Duos sit in a comfortable middle. Two players can split disruption and mechanics in Harrow's fight without the timer pressure that breaks solo runs.
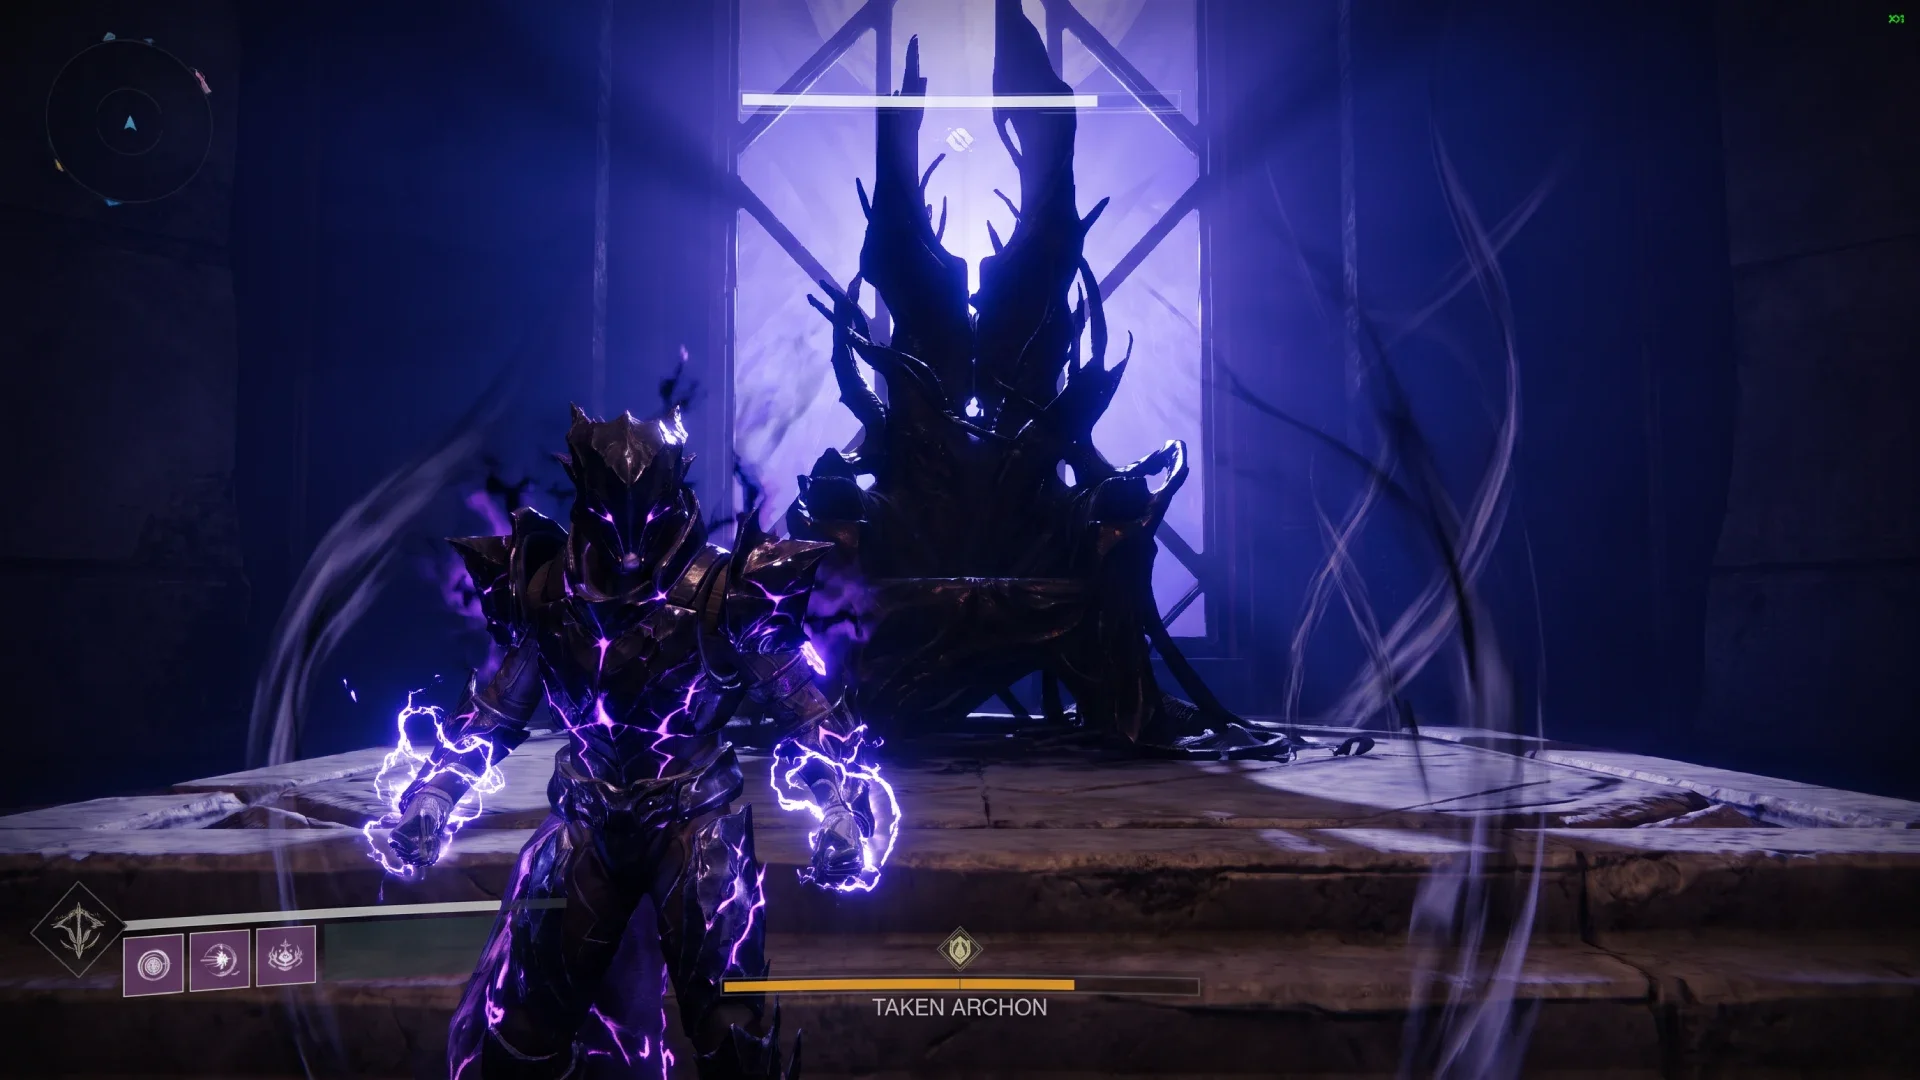
Dredgen Sere boss encounter
Where Equilibrium sits in 2026
Equilibrium is still the newest dungeon in the game. Nothing shipped after it, including the final update, so it remains the 11th and most recent addition.
What is less settled is how it interacts with the weekly featured rotation that returned with Monument of Triumph (Update 9.7.0, June 9, 2026). Two raids and two dungeons rotate into featured status each week, and featured activities drop their reward lockouts. Guides published before and around that update state that the newest dungeon is excluded from the rotation. Coverage published after it is not consistent, with at least one weekly tracker implying Equilibrium has already appeared in the featured slot, and readers of rotation trackers disputing both readings.
Here is what is not in dispute. The Legendary weapons and armor carry no weekly lockout either way, and the two secret chests pay out after each completed encounter. Heirloom has been capped at one drop chance per character per week outside Contest Mode since launch. If the exotic is your priority, check the Director before you plan your week rather than trusting any guide's rotation claim, this one included. Checked August 7, 2026.
Key takeaways
Shadow rank is the entire dungeon. Everything that progresses an encounter needs it active, and it runs on a 45 second timer at the first tier.
In the Sere encounter, Compel the Blistered Shadows. Killing them makes the fight harder.
Six Legendary weapons drop, but Sullen Claw and High Tyrant only come from the final encounter.
The Sage Protector set is a sword set. Two and four piece bonuses both key off sword hits.
Heirloom is capped at one drop chance per character per week, while the Legendaries and armor carry no lockout at all.
Praxic Triumphs permanently raise Heirloom's drop rate and stack, so turn on feats during clears you are doing anyway.
The catalyst comes from The Way Between, not from clears, and it also unlocks attunement.
Frequently asked questions
How many encounters does the Equilibrium dungeon have?
Three. The Harvester encounter on Venus, the Harrow boss fight aboard the Imperium Carrier, and Dredgen Sere aboard the Malphas Contemptus. Two traversal sections separate them, both containing secret chests.
Do I need a dungeon key for Equilibrium?
No separate key is required. You need the Renegades expansion on your account, and your fireteam leader needs to have started The Way Between pursuit from Aunor Mahal at the Tharsis Outpost Cantina.
How long does an Equilibrium run take?
Community estimates put a coordinated fireteam that knows the mechanics at roughly 45 minutes to an hour. First-time groups should budget two hours or more, since both boss encounters have multi-step mechanics that need a few attempts to click.
Can you solo the Equilibrium dungeon?
Yes. Solo and solo flawless completions both have dedicated rewards, including the Imperium Parade shader and the Stand Alone emblem. Harrow is the hardest encounter to solo because of the switch timers, not the damage.
Where does Heirloom drop?
Heirloom drops from the final encounter against Dredgen Sere. It is limited to one drop chance per character per week, so running all three characters gives you three attempts.
How do I increase my Heirloom drop chance?
Complete Praxic Triumphs that specifically list an increased initial drop chance as a reward. They stack, so each one you finish permanently improves your odds. The feat-based ones are the cheapest to knock out during normal clears.
Is the Equilibrium dungeon farmable?
The Legendary weapons and armor are fully farmable with no weekly lockout, and the two secret chests can be looted after each completed encounter. Only the Heirloom exotic is capped, at one drop chance per character per week.
What is the Equilibrium armor set called?
The Sage Protector Suit, available for Hunter, Titan, and Warlock. Its set bonuses are Combat Meditation at two pieces and Blade Focus at four, both of which reward sword usage.
What weapons drop from Equilibrium?
Six Legendaries plus one Exotic. Zealous Ideal, Voltaic Shade, High Tyrant, Conspiracy Honed, Bitter End, and Sullen Claw, along with the Heirloom combat bow from the final boss.
How do I get the Heirloom catalyst?
Complete The Way Between, a nine-step post-dungeon questline from Aunor that requires recovering stolen Praxic relics across multiple runs and defeating the Shade of Sere. It also unlocks loot focusing for Equilibrium drops.
Is Equilibrium in the weekly featured dungeon rotation?
Sources disagree on this after the Monument of Triumph update brought the rotation back. Guides from launch through mid-2026 say the newest dungeon is excluded, while some later weekly trackers suggest otherwise. Check the Director in game before you plan a farming week.
Sources
Bungie Help, Destiny 2: Equilibrium Dungeon World First Race Official Rules: https://help.bungie.net/hc/en-us/articles/43102145655956-Destiny-2-Equilibrium-Dungeon-World-First-Race-Official-Rules
Bungie, Equilibrium Dungeon Race: https://www.destinythegame.com/tune-in/equilibrium
Destinypedia, Equilibrium: https://www.destinypedia.com/Equilibrium
light.gg, Heirloom: https://www.light.gg/db/items/1685137410/heirloom